

AI Integration Quick Reference
AI Integration Quick Reference
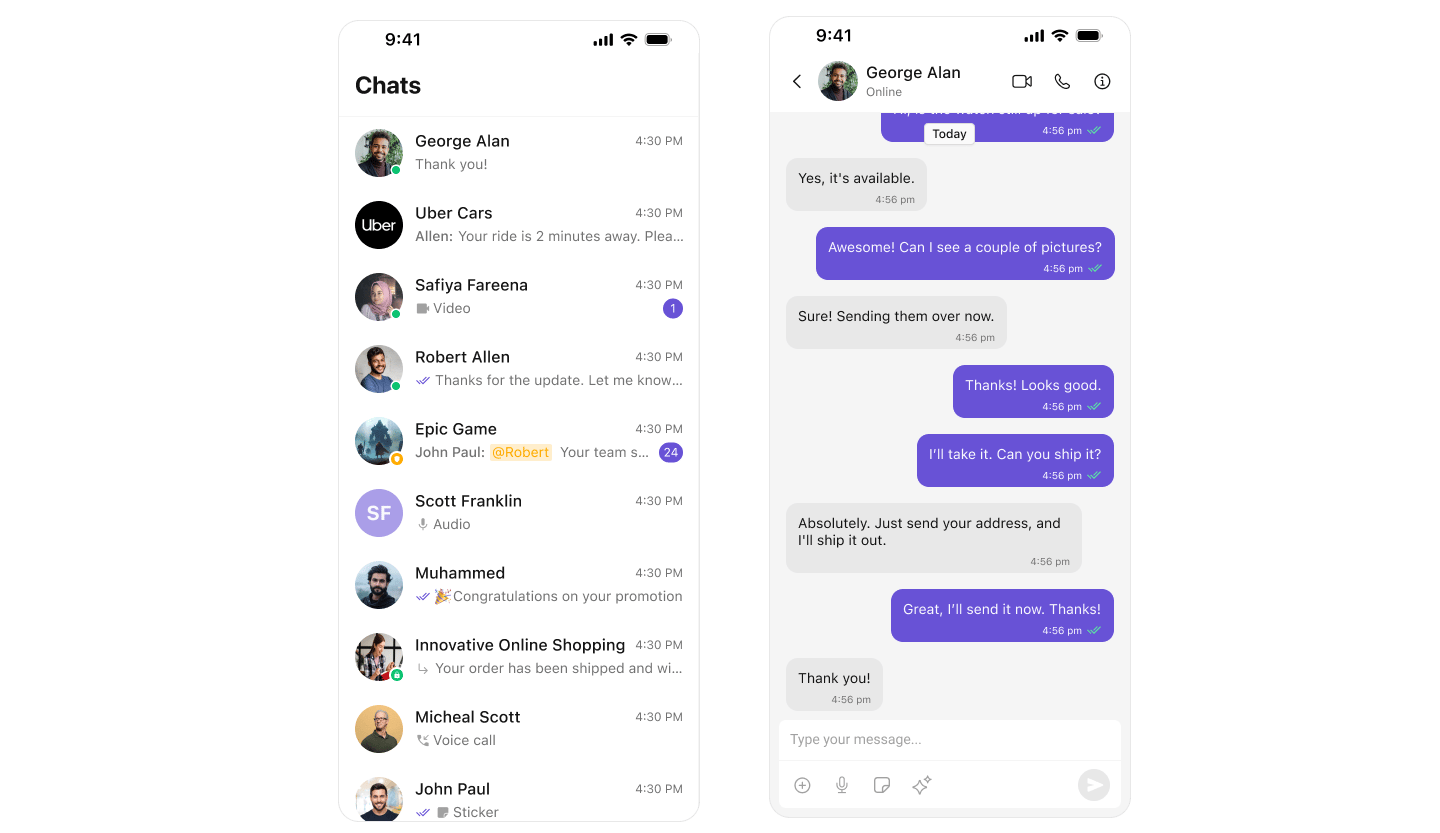
What You’re Building
Three components working together:- Conversation list — shows all active conversations (users and groups)
- Message view — displays chat messages for the selected conversation in real time
- Message composer — text input with support for media, emojis, and reactions
Step 1 — Setup SceneDelegate
Wire up the conversation list after successful login. When a user taps a conversation, push to the messages view.SceneDelegate.swift
CometChatConversationsdisplays the conversation listonItemClickfires when a user taps a conversation, passing theConversationobject- Extract
UserorGroupfromconversation.conversationWithand pass to the messages view
Step 2 — Create MessagesVC
Create a new Swift file for the messages view controller:- In Xcode, right-click your project folder in the Navigator
- Select New File…
- Choose Swift File and click Next
- Name it
MessagesVC.swiftand click Create
MessagesVC.swift
CometChatMessageHeadershows user/group info and back buttonCometChatMessageListdisplays messages with real-time updatesCometChatMessageComposerhandles text input, media, and reactions- Pass either
userorgroupto each component, never both
Step 3 — Run the Project
Build and run in Xcode. You should see the conversation list. Tap any conversation to push to the messages view.Next Steps
Theming
Customize colors, fonts, and styles to match your brand
Components Overview
Browse all prebuilt UI components
iOS Integration
Back to the main setup guide
Core Features
Chat features included out of the box